Measuring & Marking
Understanding how to measure and mark-out materials, and which tools to use to do it with, is a crucial early step.
Old Stonemasons Ramblings: Pythagerous Theory, (3,4,5) is a very accurate mathematical equation for a 90% angle/line. On hard to see surfaces use Black Oxide in your chalk line. A taut string line must only be "plucked" at 90% to the surface.
The following tools are commonly used for measuring and marking-out:-
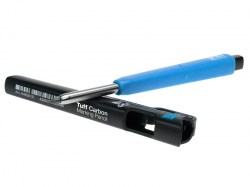
- Pencil – Used to mark lines and centres for cutting or joining. Pencil marks are easy to remove afterwards. It is best to use a sharp pencil very lightly. This gives thin, light lines that don't engrave the workpiece.
- Steel rules – Used to measure materials for cutting or joining. Best used flat against the side and bottom edges. This ensures that measurements are marked from a one consistent spot. Marking out with a steel rule and a sharp pencil can give accurate, removable marks
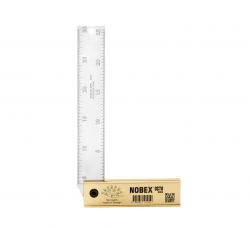
- Try square – Used to help draw perpendicular lines on materials to mark out the sides of a joint. Best used with the brass edge flat against the side. This ensures that the line is parallel.
- Tape Measure - Length, width, and height are at your fingertips with this helpful strip of inches and centimetres.
- Square - For straight edges and right angles, a square is a helpful device.
- Level - The tiny bubbles in a level will help you to keep objects truly horizontal and vertical.
- Chalk Line - A pluck of the string will give you a puff of chalk and an instant straight line.
Manufacturer:
Tajima
Results 1 - 1 of 1
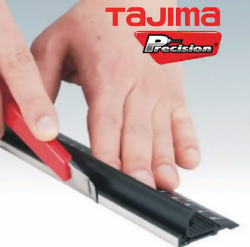
Tajima Cutting Guide
Introducing the Tajima Slim Cutter Guide your go-to tool ...
Price$ 38.70
Discount:
GST incl$ 3.52


