Panther Levelling System 1.5mm Clips x 500pk
$25.00Suitable for 6mm to 12mm thick tiles or stone. Ideal for walls and floors.
$88.85
Achieve a clean, even and professional tile installation with confidence. This guide provides a clear, step-by-step walk-through of the CLIP-IT system, along with a quick video demonstration. Whether you are completing a small DIY project or working as a professional tiler, these instructions will help you install tiles with accuracy and consistency.
Out of stock
Your CLIP-IT Starter Kit includes everything you need for a precise installation.
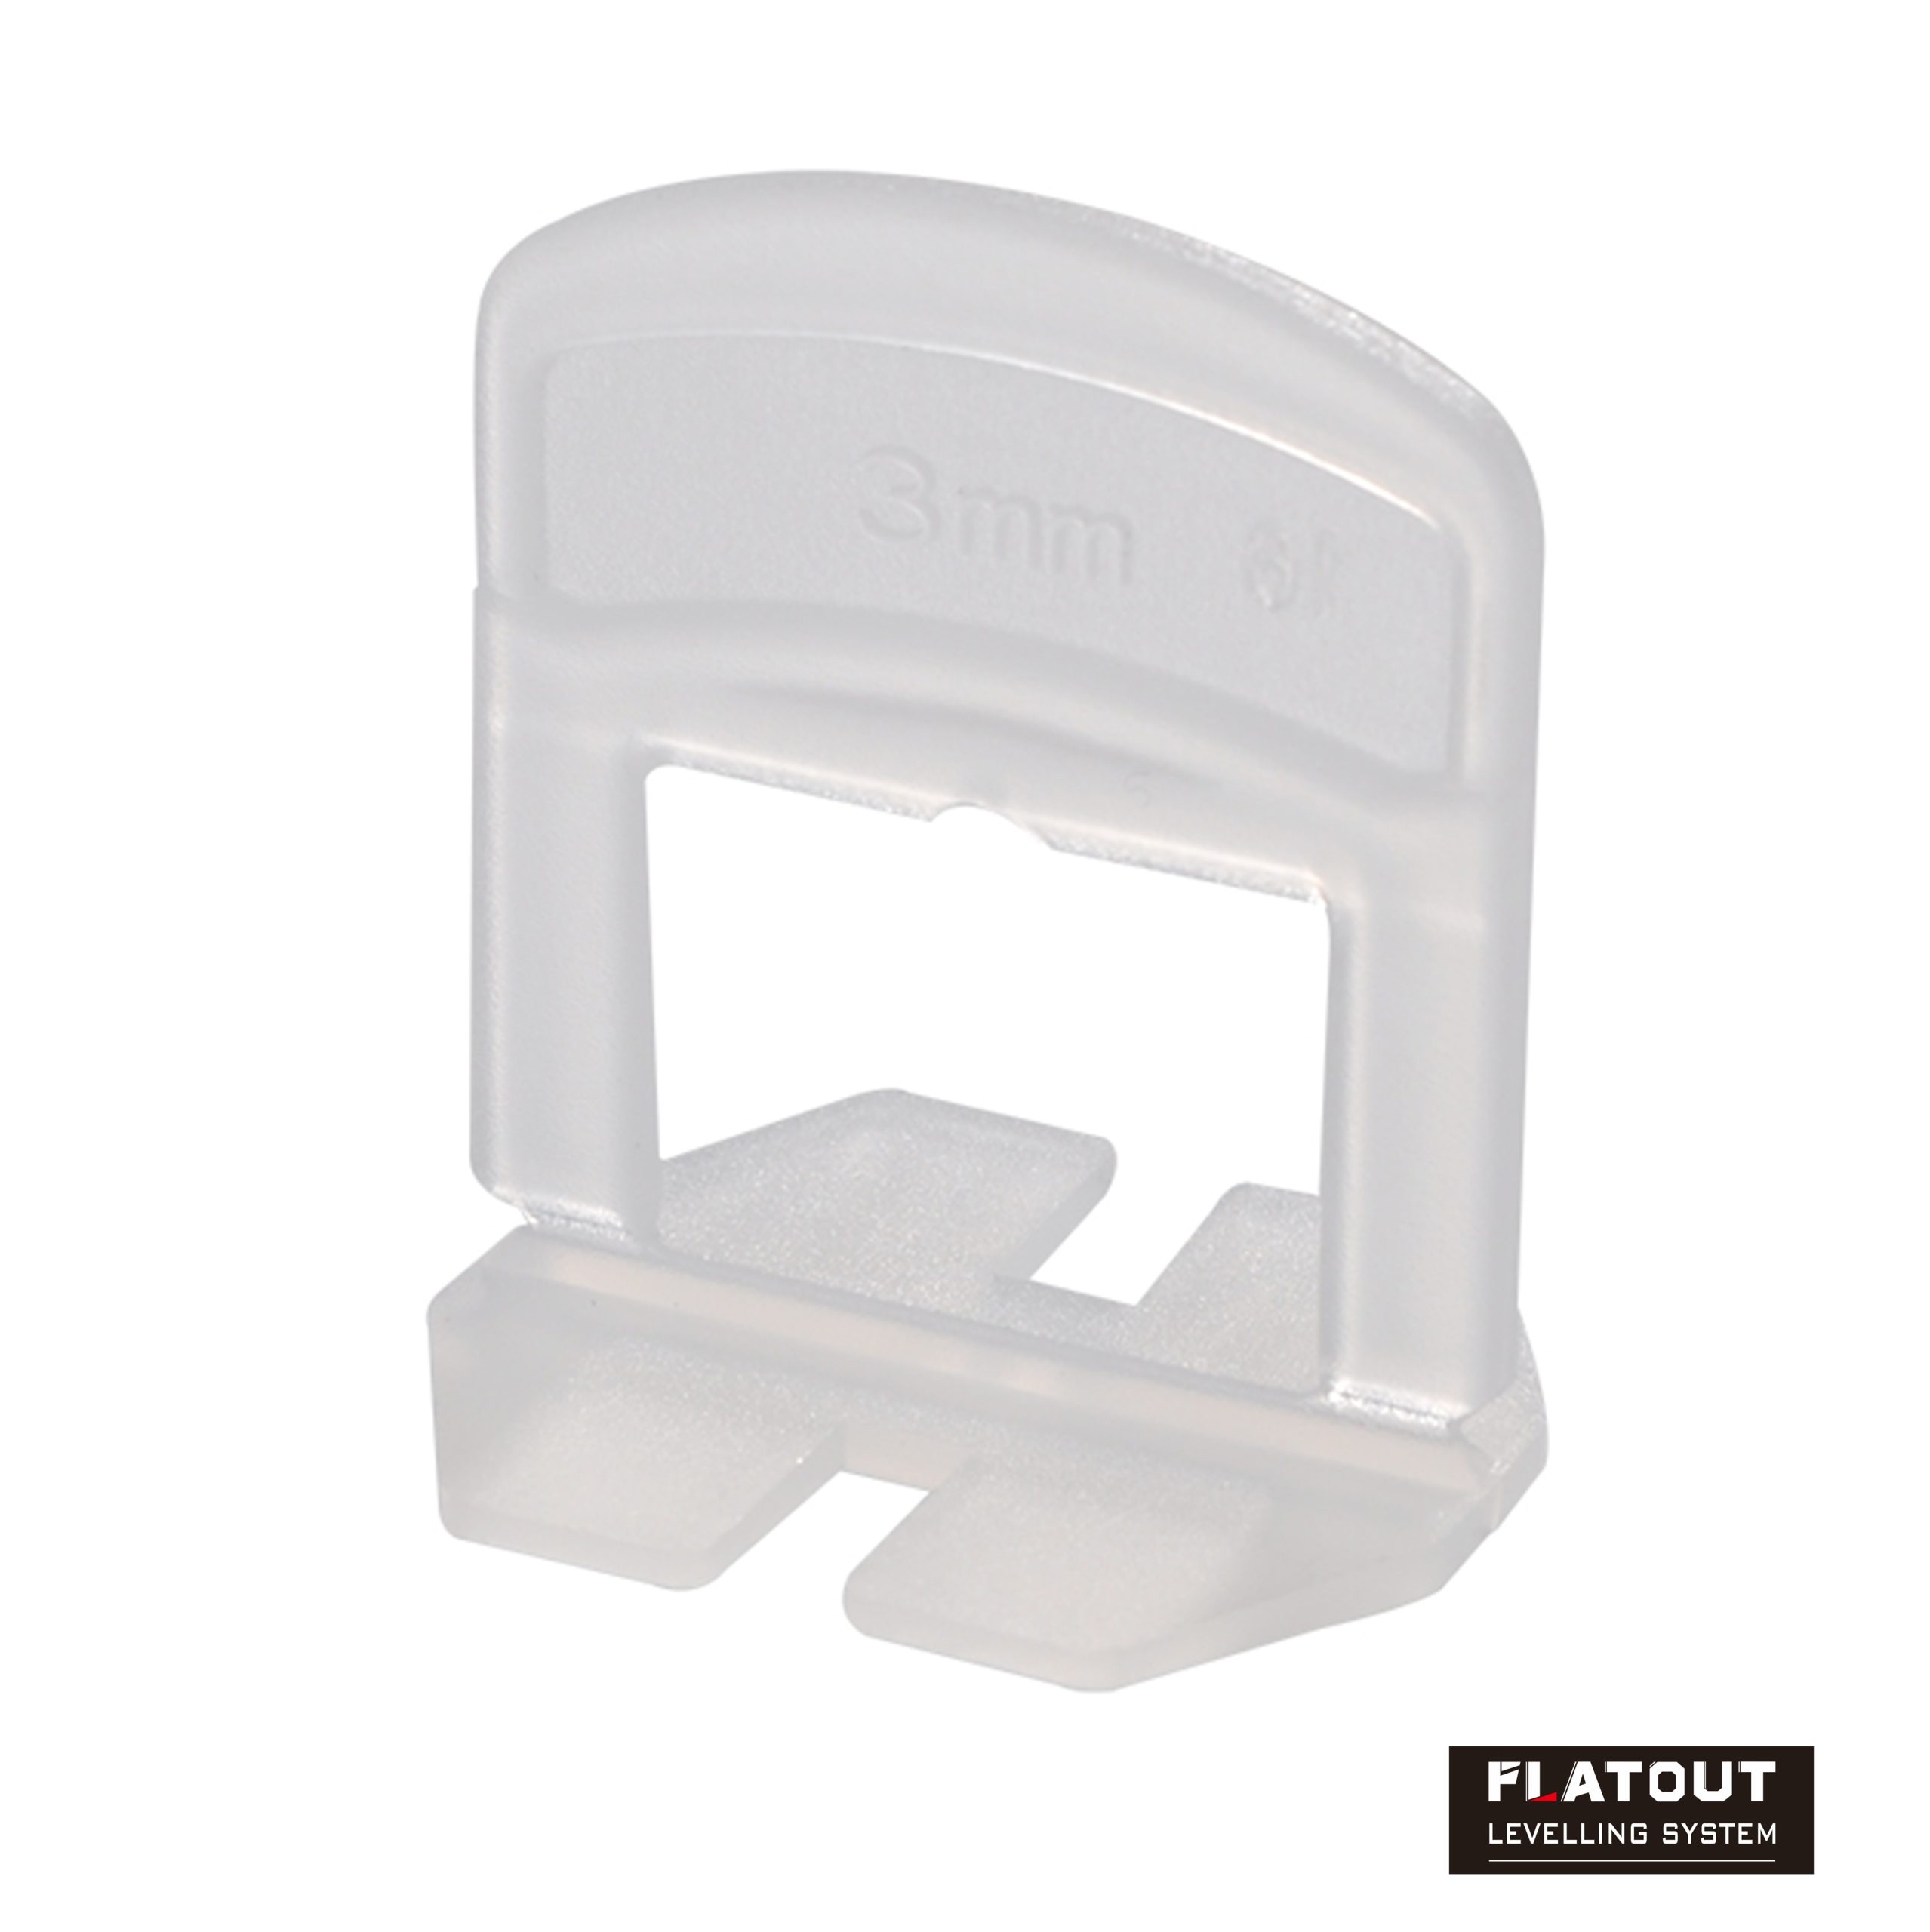
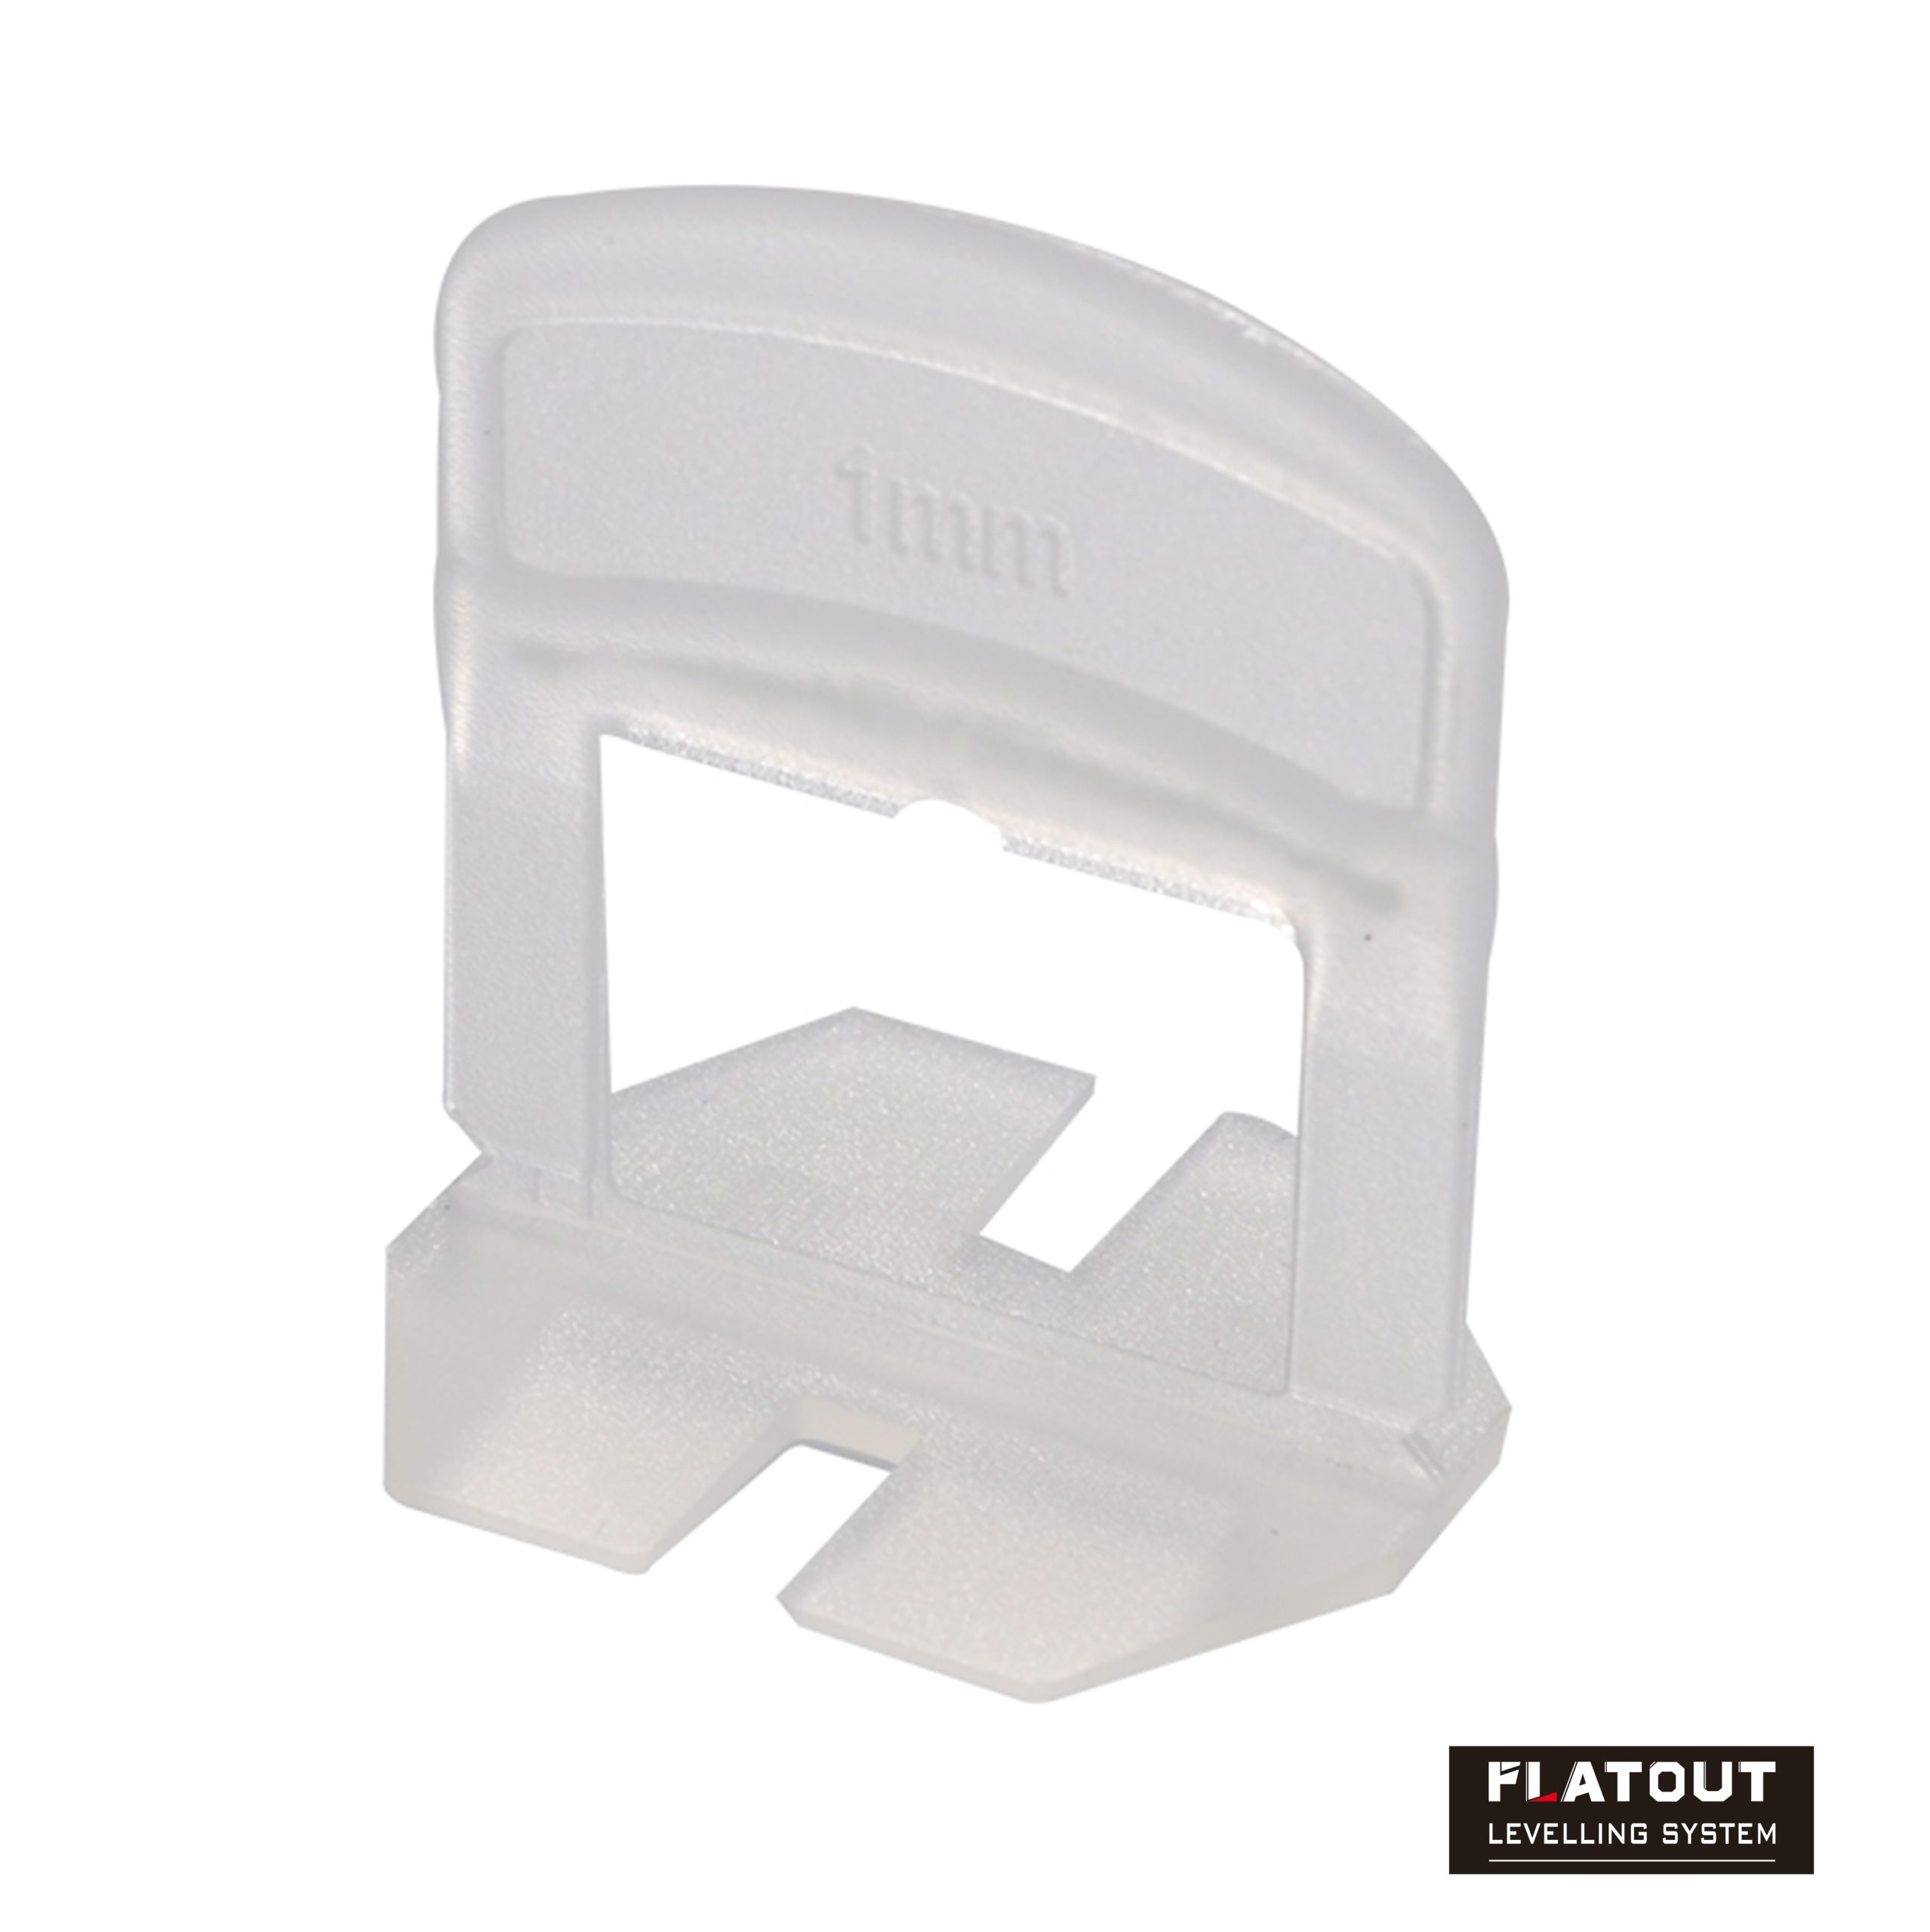
150 x CLIP-IT 1.5mm Tile Clips
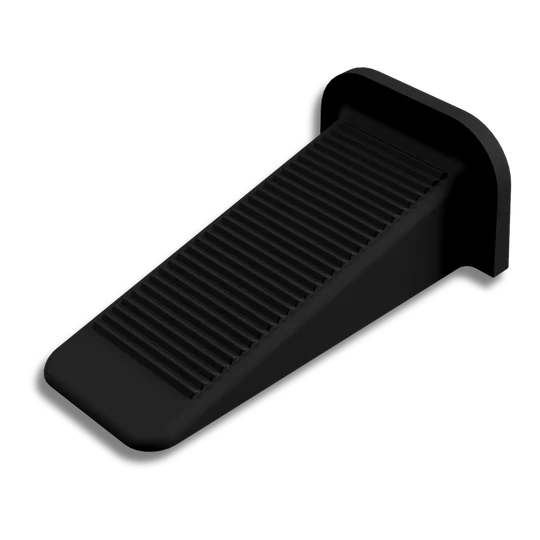
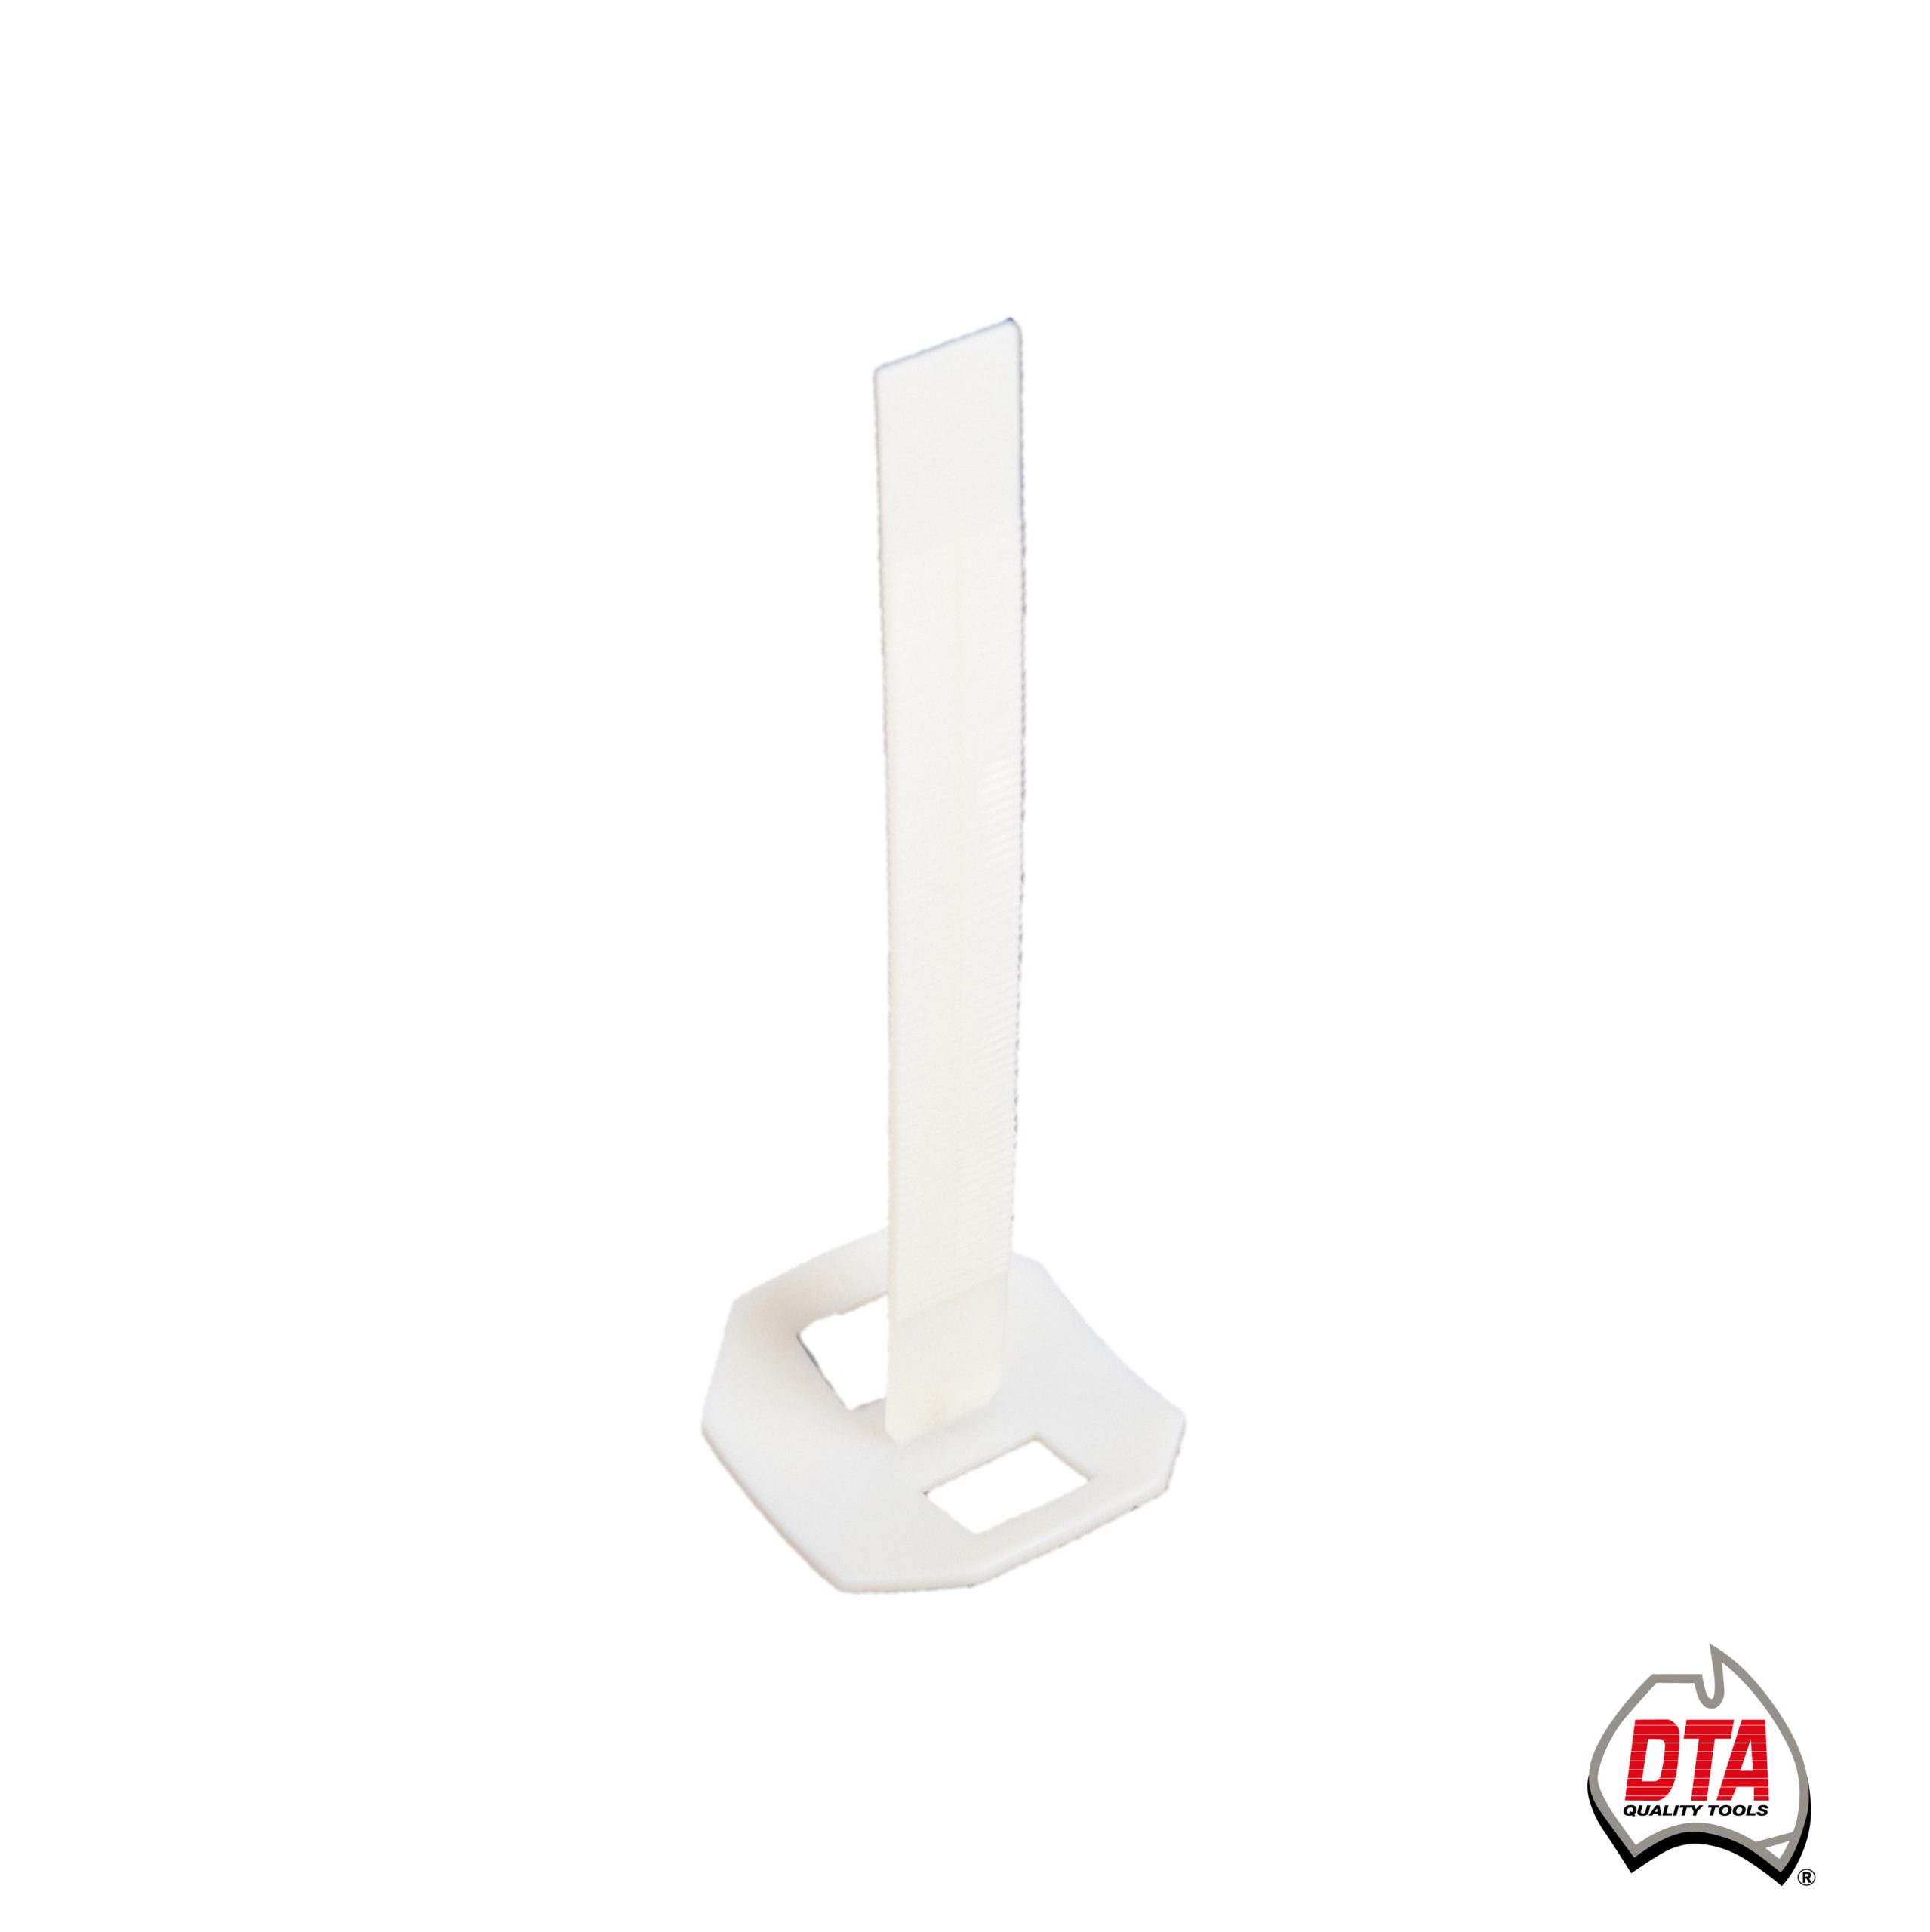
100 x CLIP-IT Wedges
1 x DE-CLIP-IT Hammer
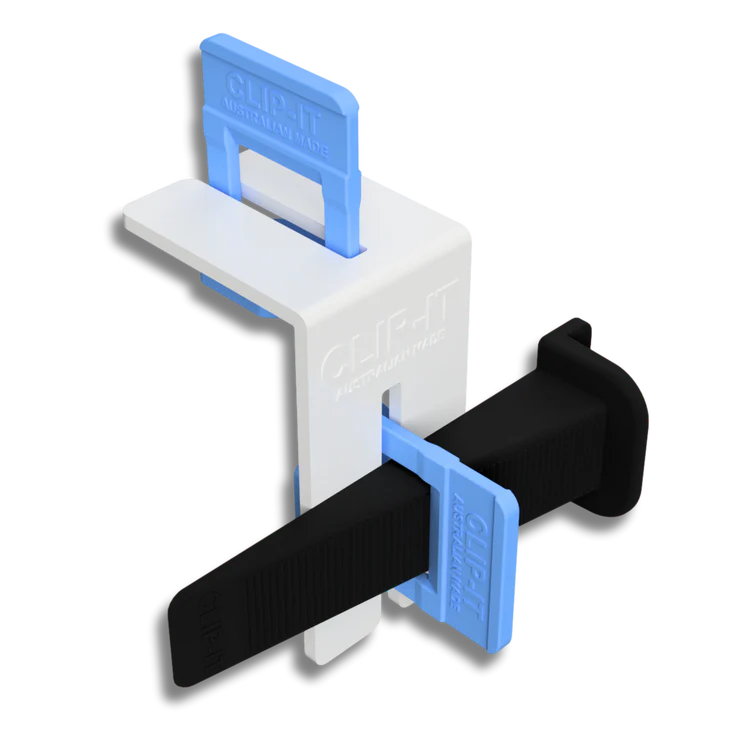
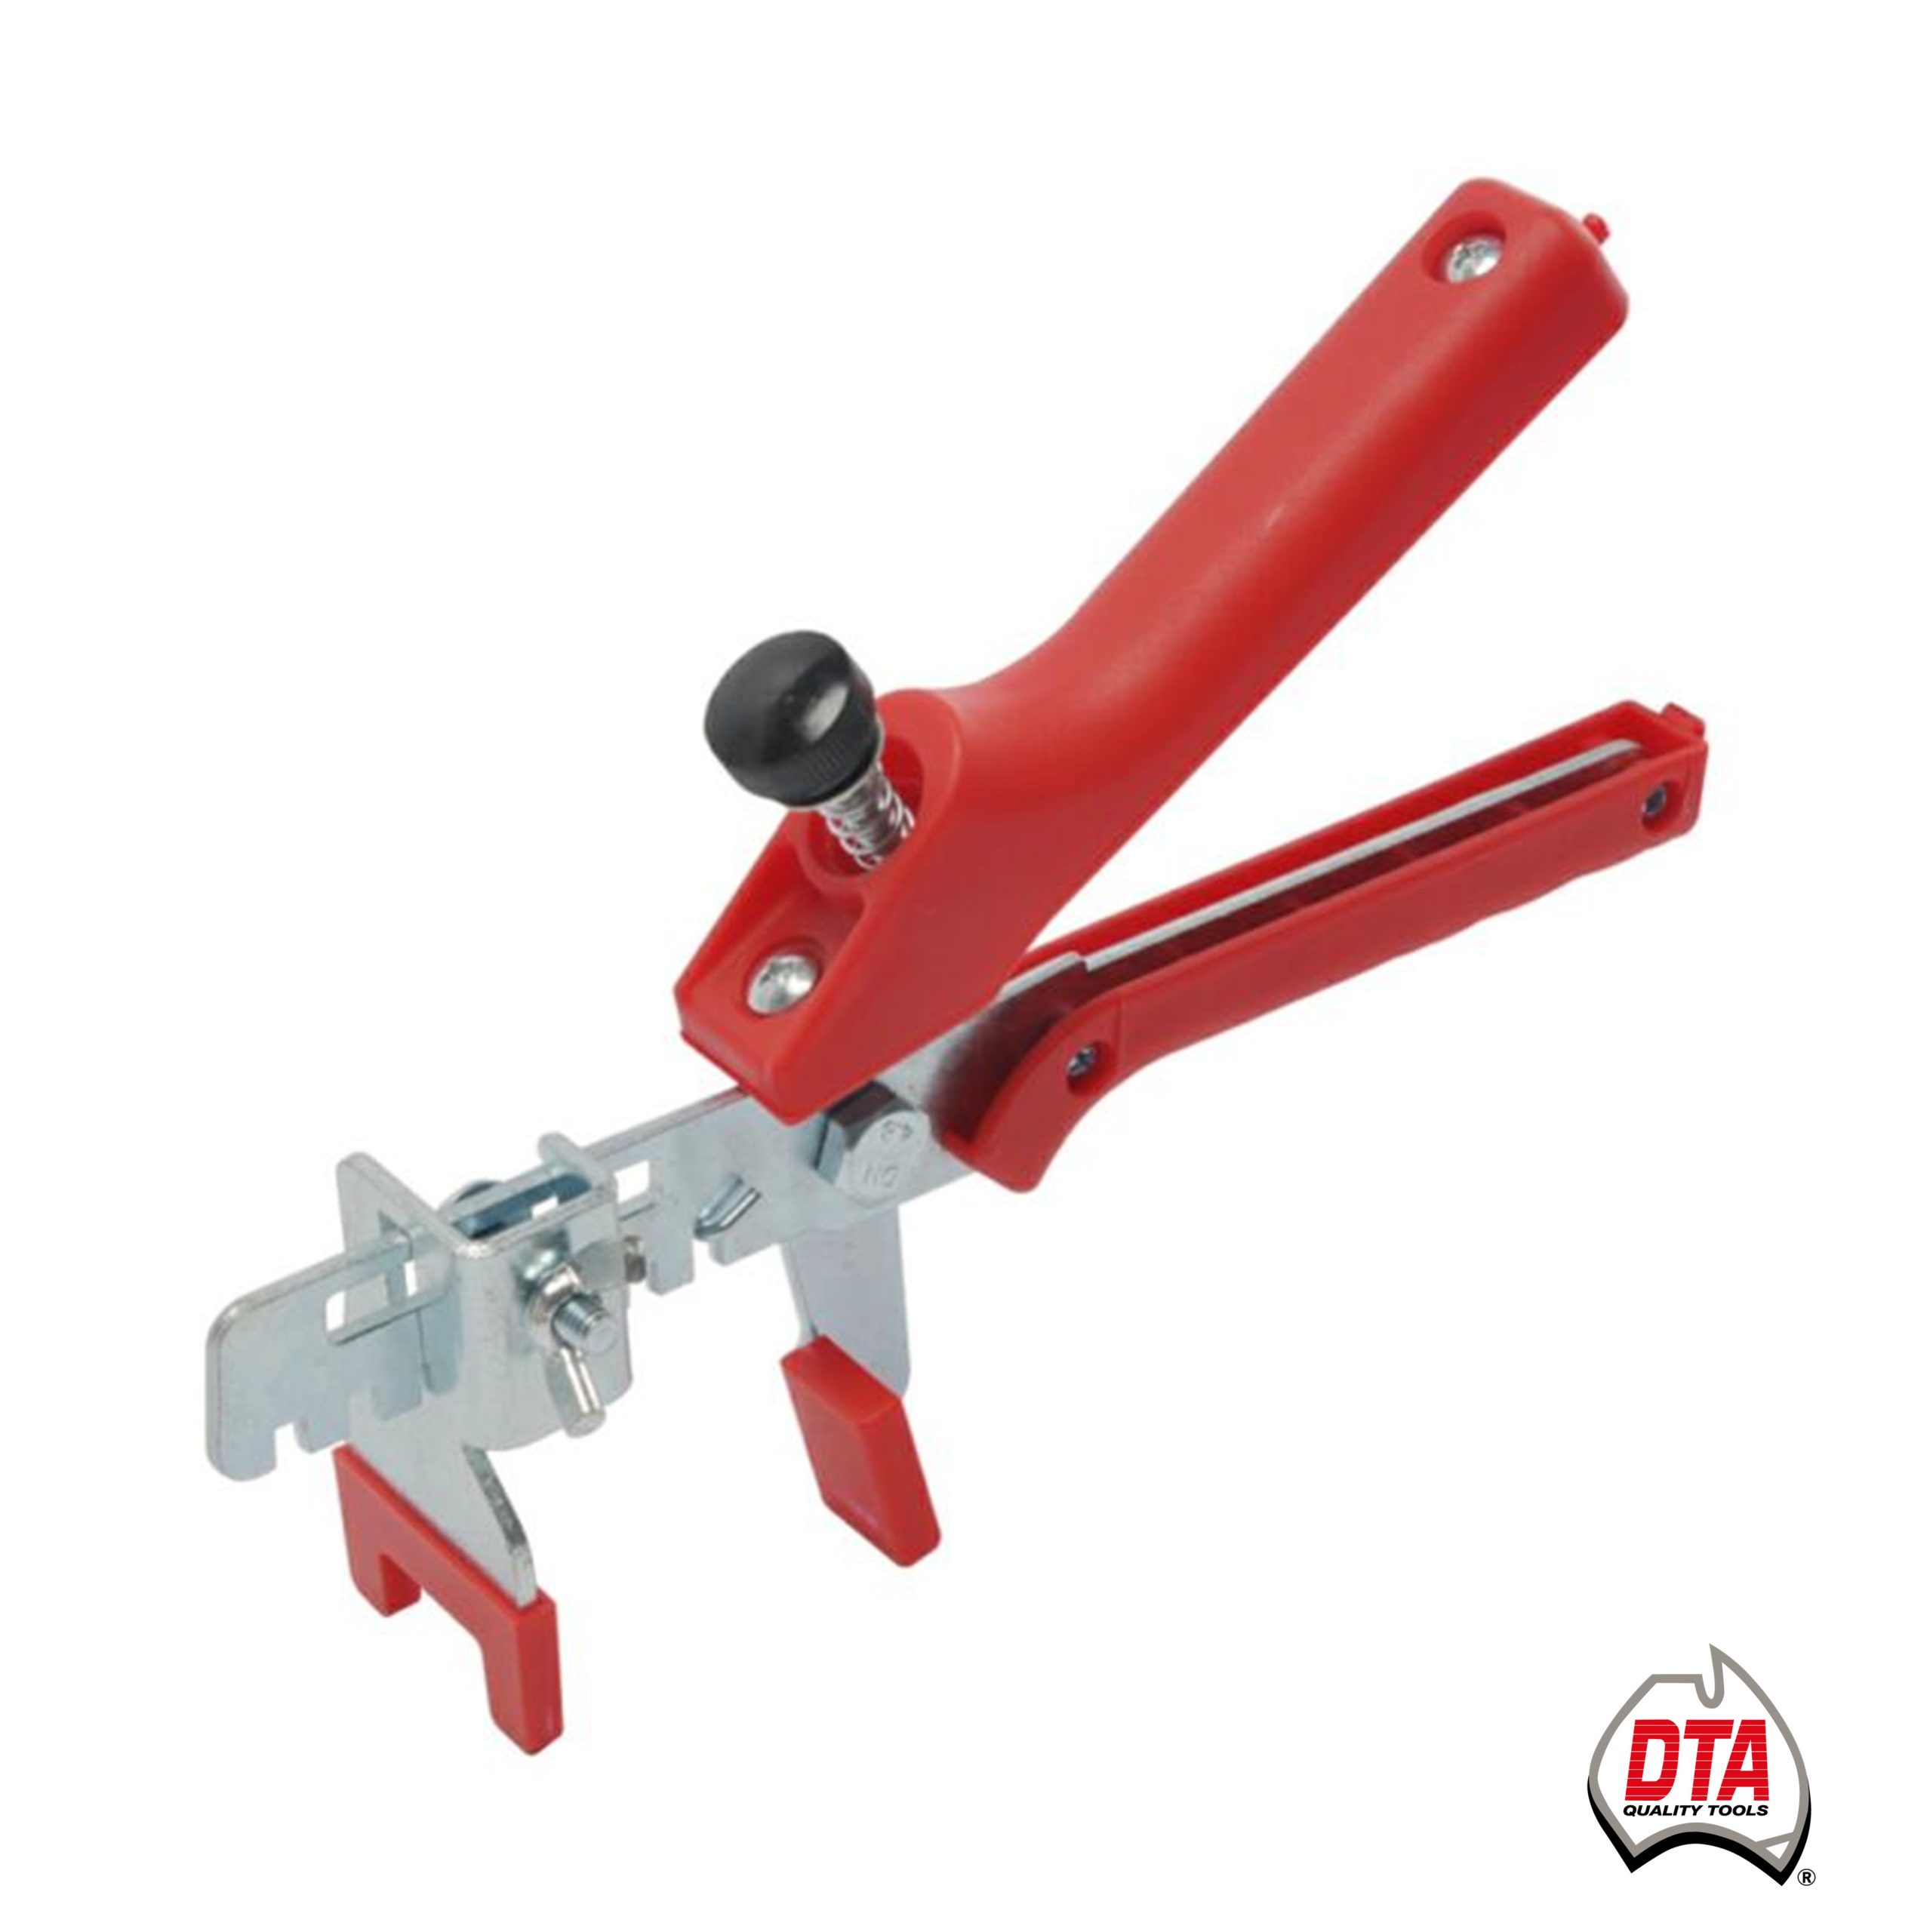
1 x CLIP-IT Tile Pliers
Every component is engineered to work together for controlled tile height, clean joints and a flawless finish.
CLIP-IT Tile Clips prevent lippage by controlling tile height as the adhesive sets. Once the wedges are locked into place, the system keeps your tiles level and steady. CLIP-IT is known for strength, simplicity and reliability, and is trusted across Australia for both professional and DIY installations.
Make sure the tiling base is clean, flat and level.
Use the recommended adhesive for your tile type and spread it evenly with the appropriate trowel size.
Set your first tile firmly, then slide CLIP-IT clips under the exposed edges.
Clear any adhesive from around the clip at the grout line so the clips break cleanly during removal. This is a key step.
Position each tile against the clips and maintain consistent joints. Keep the clip area free from excess adhesive to ensure smooth removal later.
Push the wedges into the clips to lock the tiles into perfect alignment while the adhesive sets.
You can tighten the wedges by hand or use the CLIP-IT Tile Pliers for extra pressure and a more consistent finish.
Kick along the grout line to snap the clips cleanly, or use the DE-CLIP-IT Hammer for fast and controlled removal.
The DE-CLIP-IT Hammer also features a built-in slot that grips clips, ideal for use near walls or edges. Slide the slot over the clip and lever it cleanly, the same way you would open a bottle.
Keeping the grout line clean and free from adhesive is the key to smooth clip removal and a perfect final result.
Code: CLP-DIY-1.5